Add the widget to WordPress
On WordPress you never touch a line of code. Our plugin drops the widget onto every page, and if you run WooCommerce it can sync your products too. Three steps.
Step 1: Install the plugin
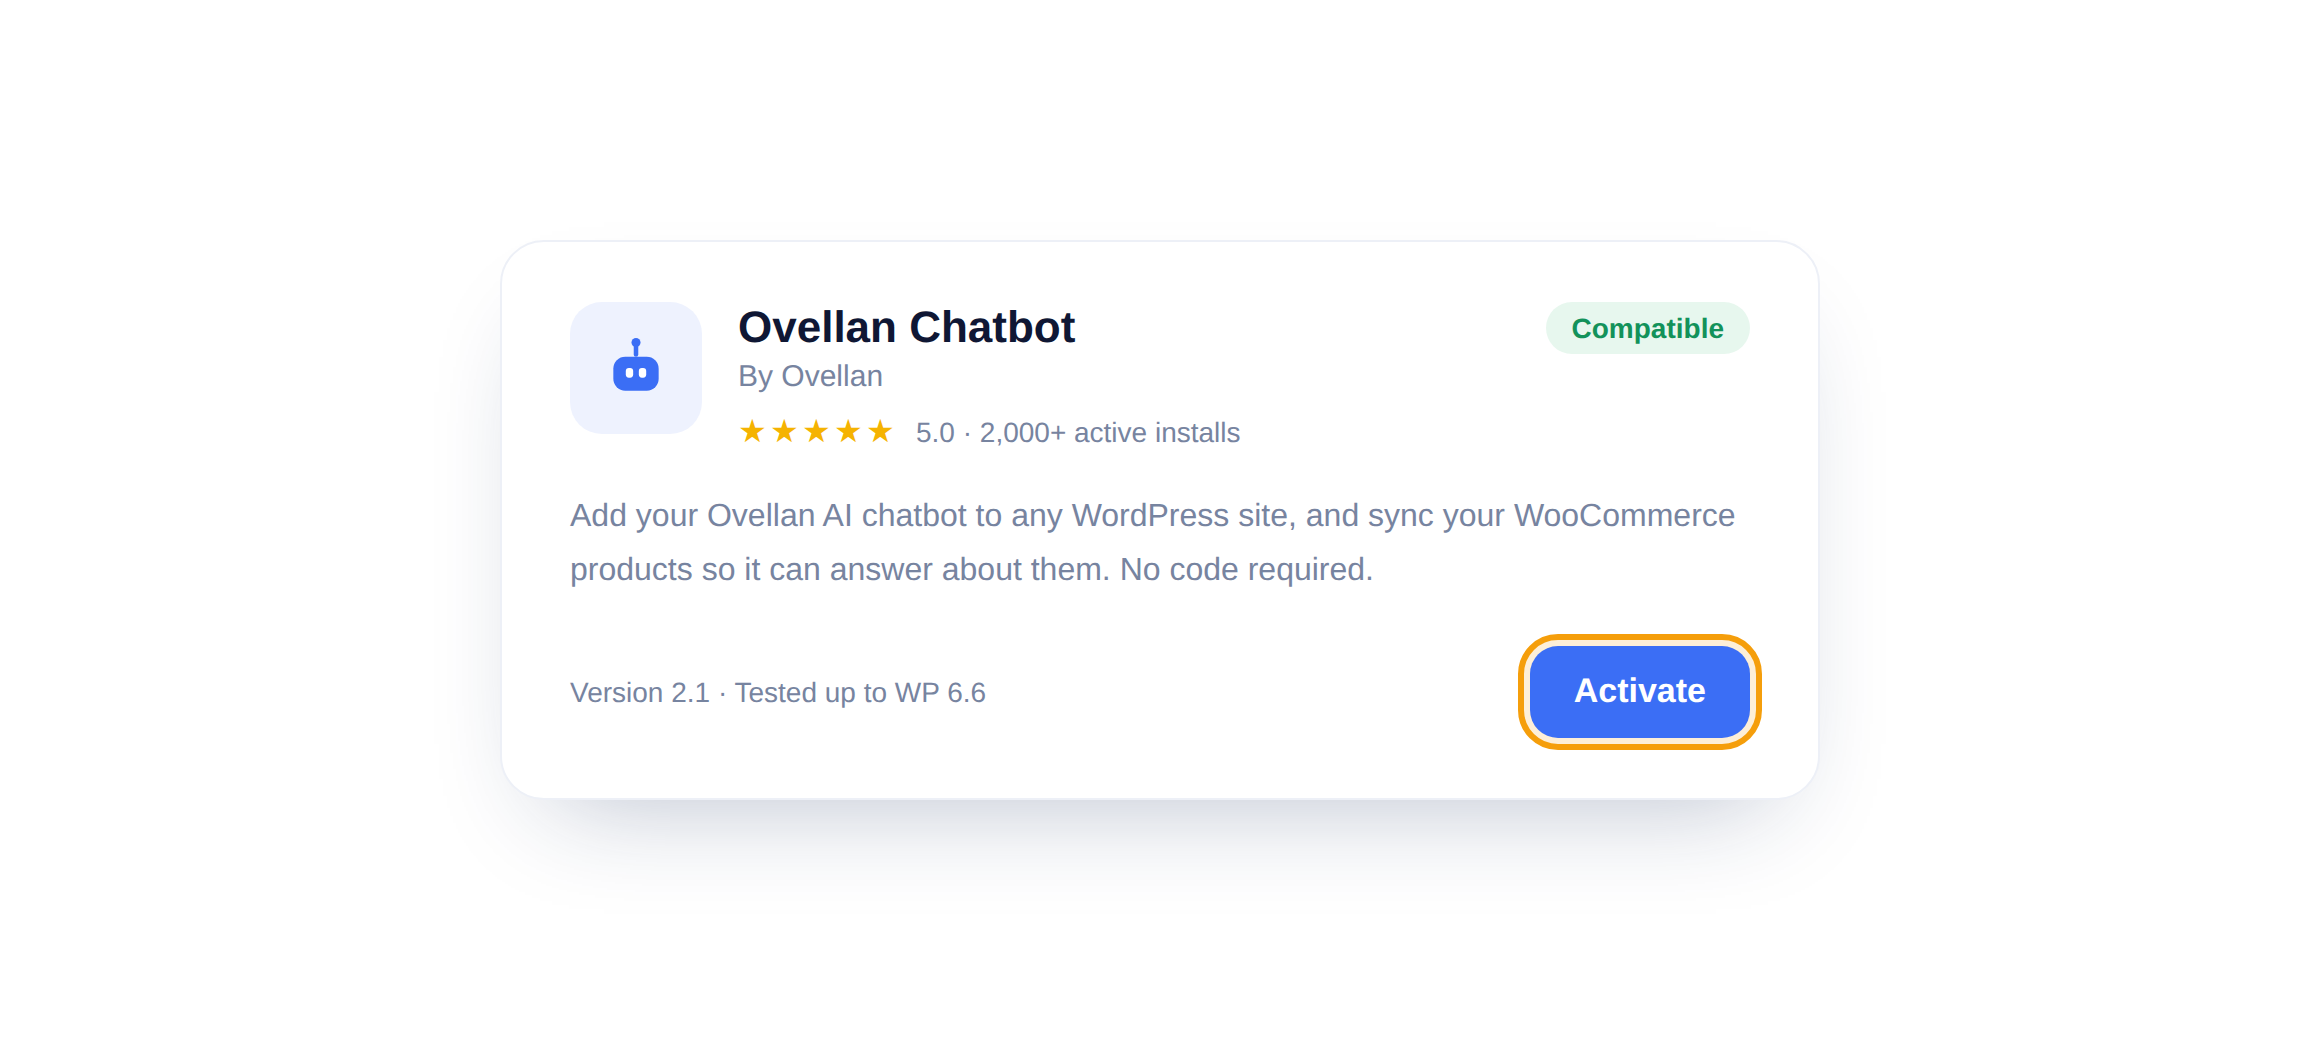
In your WordPress admin, go to Plugins > Add New, search for Ovellan, then click Install Now and Activate.
Step 2: Paste your Bot ID
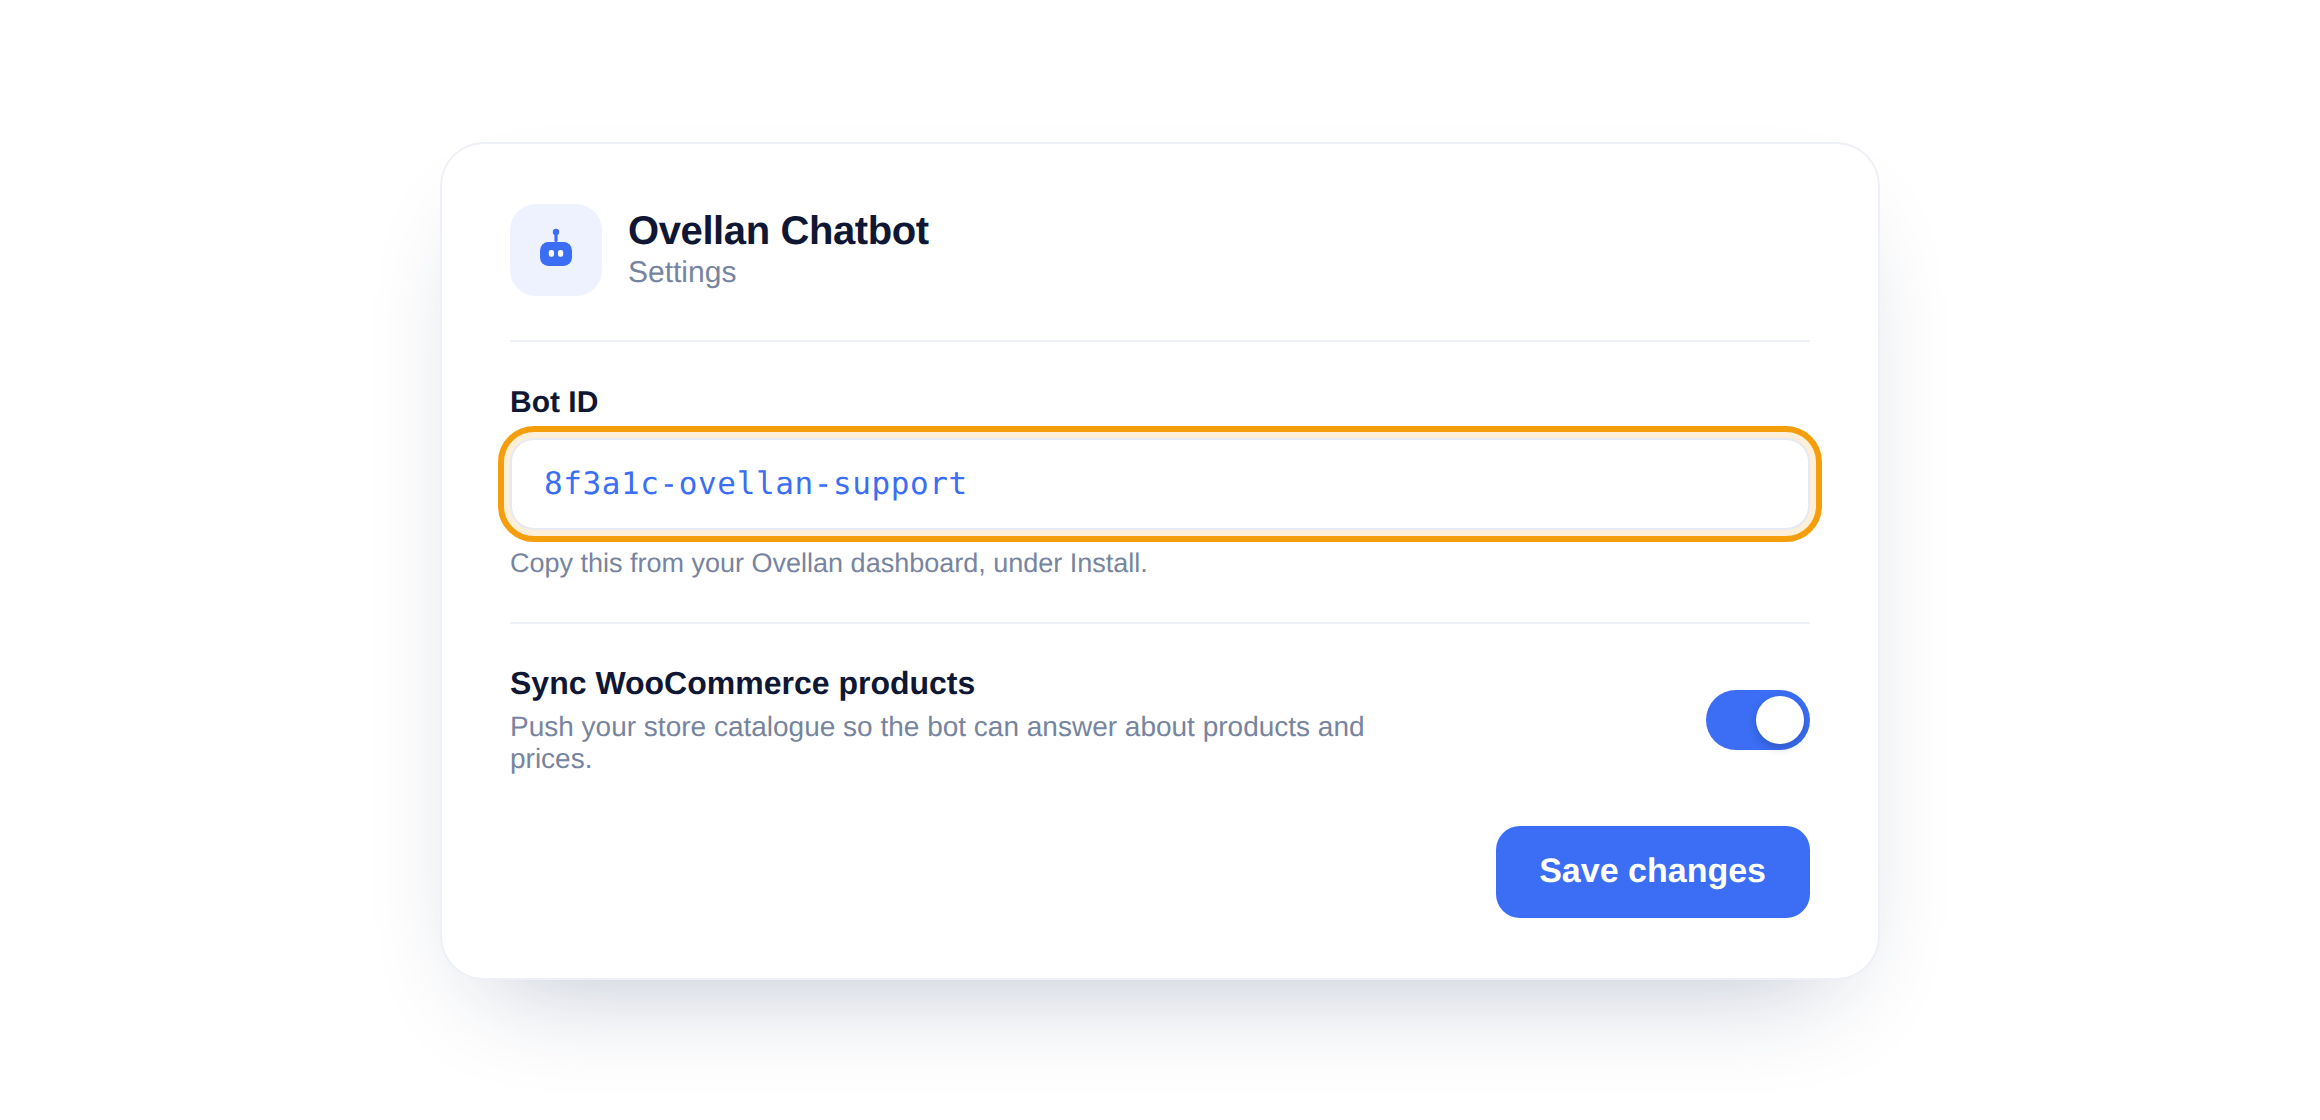
Open Settings > Ovellan and paste your Bot ID into the field. You will find it in your Ovellan dashboard under Install. Click Save changes and the widget goes live.
Step 3: Sync WooCommerce (optional)
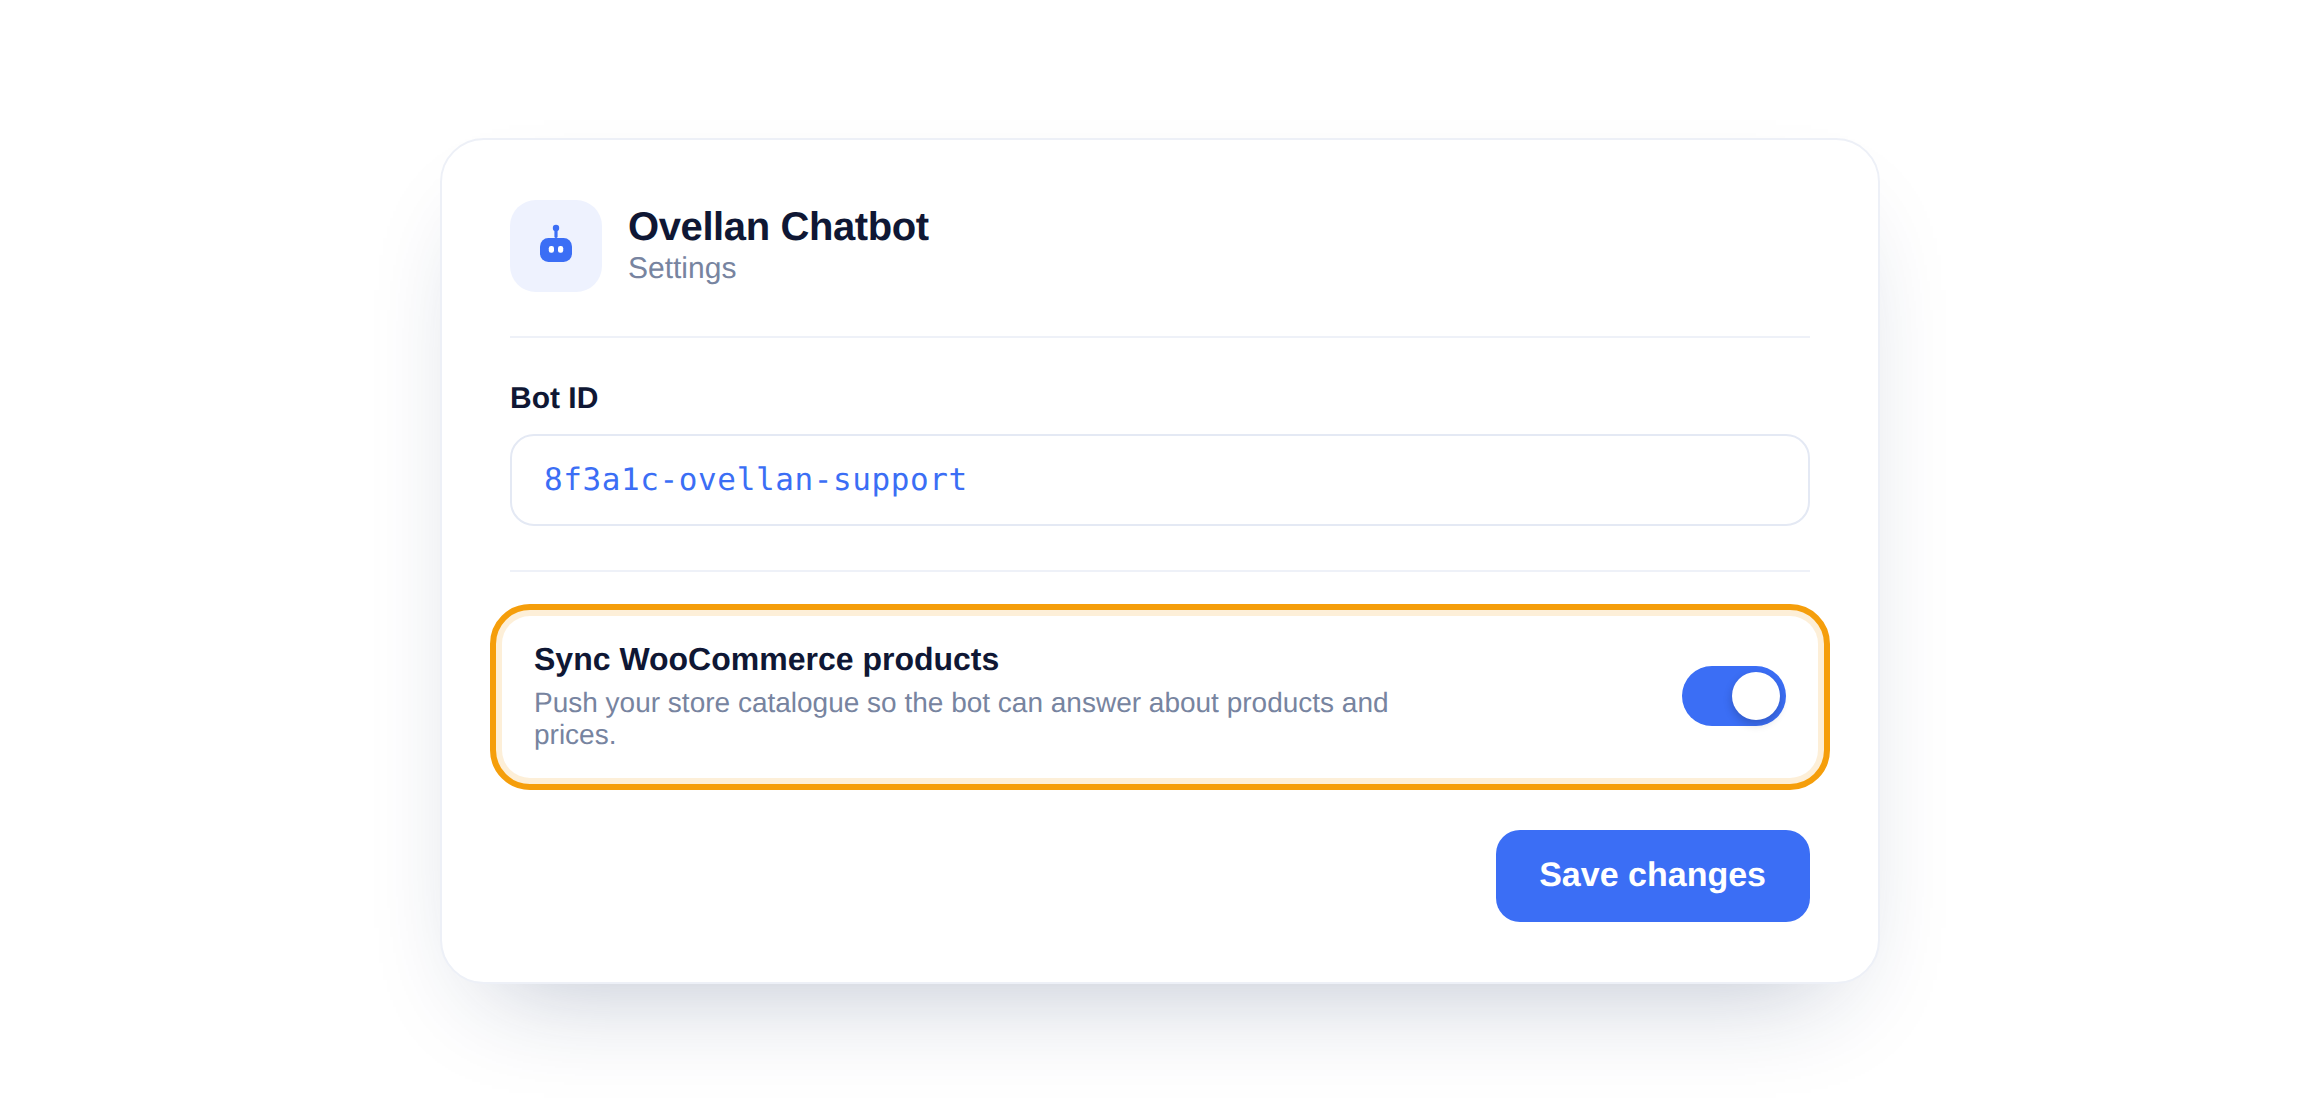
Running a shop? Turn on Sync WooCommerce products and the bot can answer about specific items, quote prices, and link to product pages. It keeps itself up to date as your catalogue changes.
After saving, open your site in a private window. The chat bubble should sit in the bottom corner of every page. If it does not, confirm the plugin is still Active and the Bot ID has no stray spaces.